Experiment #29 - Glass Cabochons
| No. 29 | Glass Cabochons |
| Desc: | Experiment to see if we can we duplicate our acrylic etching and painting process on glass cabochons. |
| Stage: 2 | Measure and Create Etching Jig |
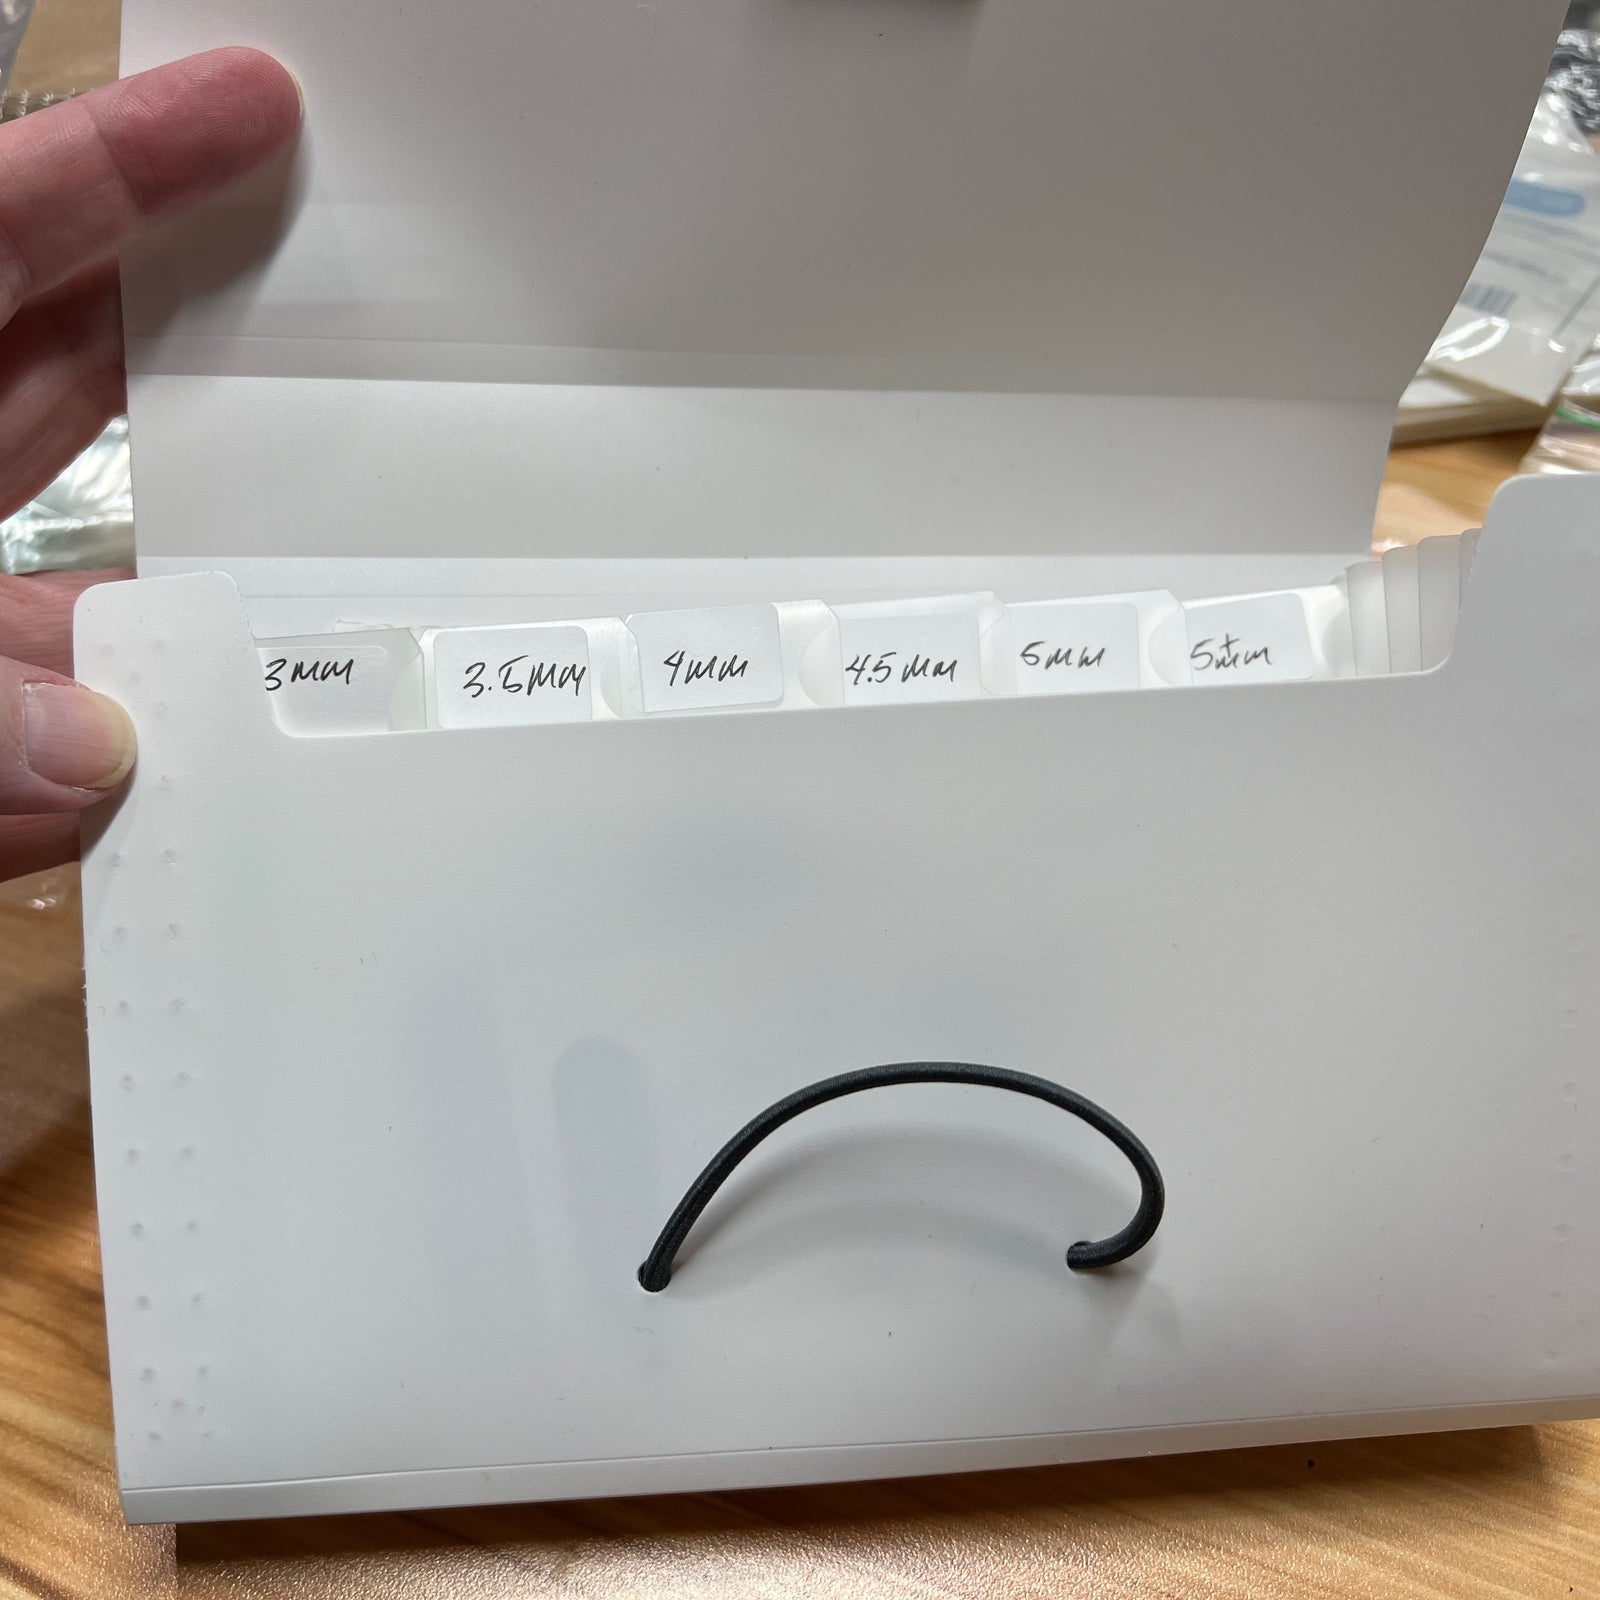
The next issue to tackle, is how to etch these rather small little glass cabochons.
The laser, as it etches, can cause small items to move around. It vibrates and if we have air assist on (to vent out gas and particles) it can cause small, light things to wobble. Add in the difficulty of the shapes, our cabs have rounded domed tops, and we are putting the rounded side down - to etch on the flat back - then we're going to have to account for a good deal of potential wobble.
The solution: using a Jig. A tight one. That will hold the pieces in place as the laser etches over them. So we measure the cabs - being as precise as possible, and then cut a jig out of acrylic (because we have a lot of that on hand) and see what we get.


As you can see - the Jig is looking pretty good so far!
Let's go to Step 3: Test Laser Etch